
A clean, bare white wall is before you. Perfect in its smoothness, crystalline and unblemished. In your hands are a hammer, a nail and a whole lot of hoping that the precious picture you’re about to hang a) doesn’t fall off the wall and that b) you don’t irreparably damage the wall in question with your newbie art-installation efforts.
Before you begin – or if you’ve been reluctant to hang artwork in your home because you’re worried you don’t have the requisite skills – read the first in our Hometruths Melbourne x Little Projects blog series: Hanging Artwork with The Real Estate Stylist.
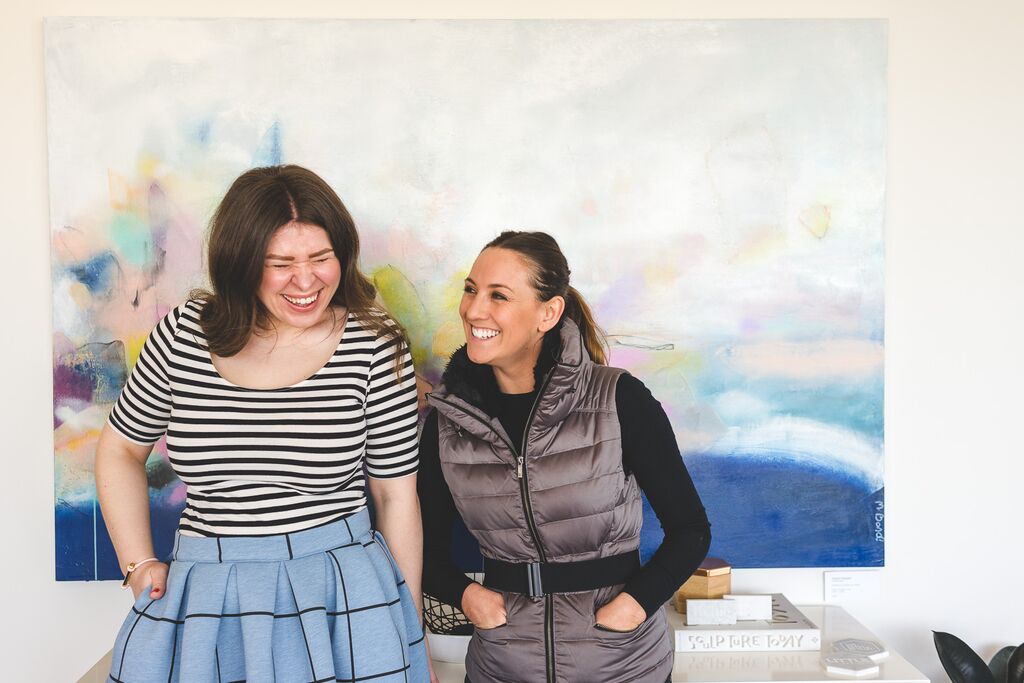
This week we’ve been experiencing life and interpreting a new way of Melbourne living at Little Projects’ new development, Central South Yarra. For more on how this Australian-first blogger-developer collaboration came to be, head over to our sister blog, Ruby Slipper. In short, Hometruths Melbourne have been working and living at a beautifully curated apartment at Central South Yarra, brought together by industry legends The Real Estate Stylist and numerous designer partners. As part of this project, we took time with one half of TRES – Sara Chamberlain – to discuss how to hang and balance artwork in your home. Sara certainly know the ins-and-outs of hanging art – as TRES’ sister business, The Artwork Stylist, prides itself on offering crisp, modern photographic artworks ready-framed for your home – certain to elevate any living space once hung.
And hanging the work? That’s where you come in!
Level Up
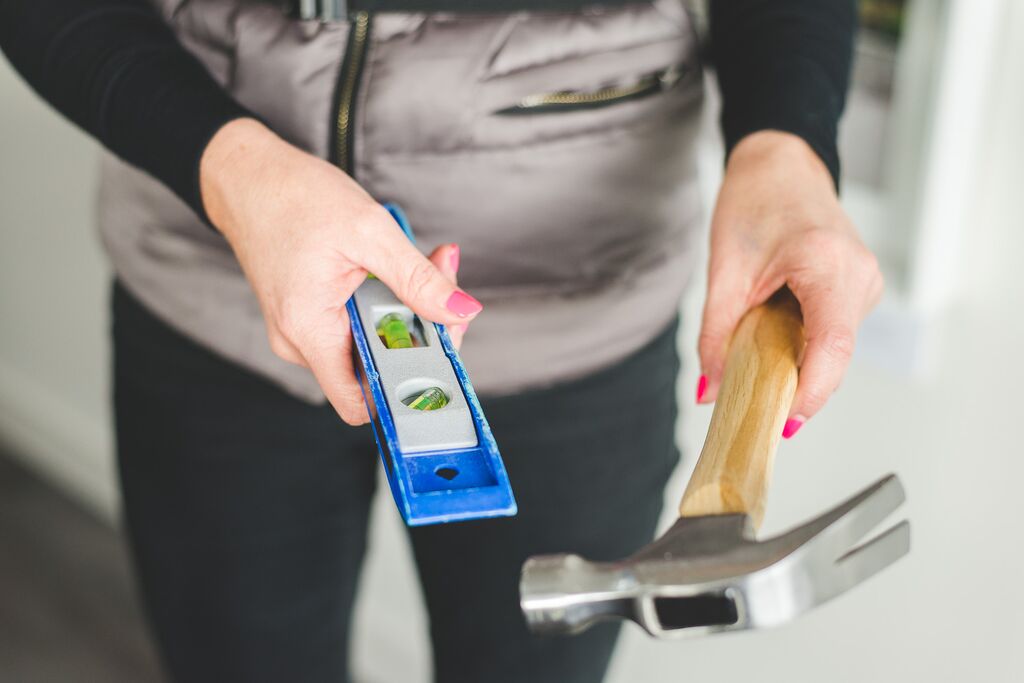
For artworks to really ‘sing’ in your space, they’ll need to be level-set (square to the wall and floor). First things first: you’ll require basic tools including a quality hammer and leveller. (Your local hardware store will be able to help you out with these).
Find the middle point of your artwork and then measure 20cm out from its middle point on either side against the wall. If your work is particularly sizable, you might need to use a long leveller for accuracy.
Create your line on the wall, and make sure it’s straight. Always test your marked ‘holes’ with a leveller before you bang them into the wall: measure twice, cut once as the saying goes.
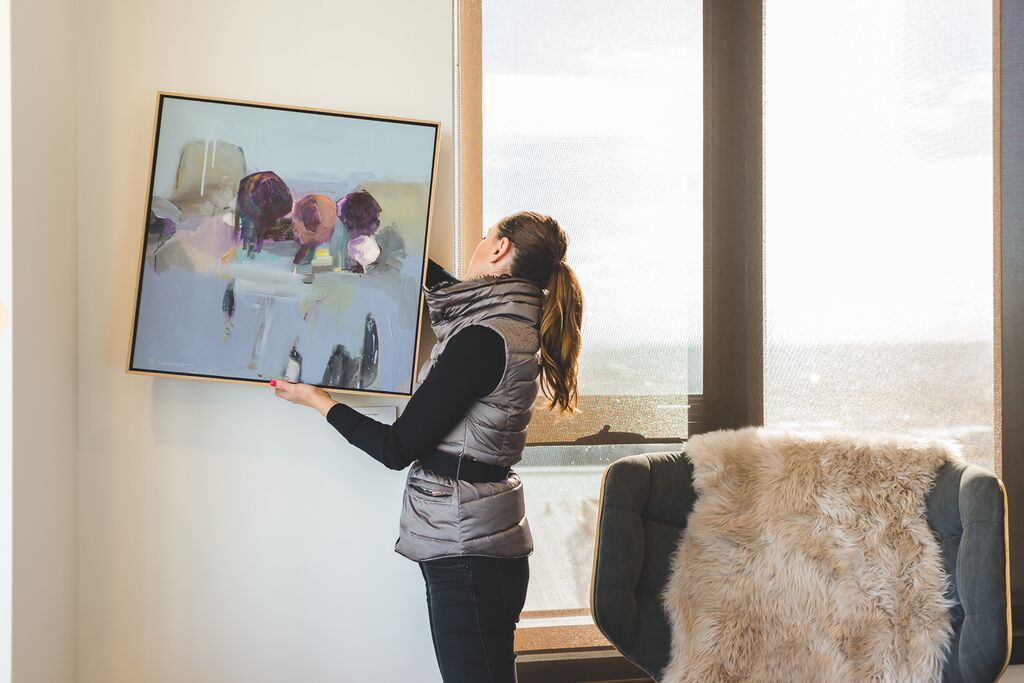
Sara carefully hangs artwork ‘The Secret Life of Trees’ by Richard Claremont in the Living by Little Projects apartment, next to a TRES-selected Norr11 Mammoth Chair by Meizai.
Extra Tips on Levelling Artwork
Have a heavy or large work to hang? Use D-links rather than nails – not only for their weight-bearing qualities, but because they assist in accurately lining up art on the wall. Use a long leveller, and remember to take into account the space you want between pieces if hanging multiples.

Weighty Issues
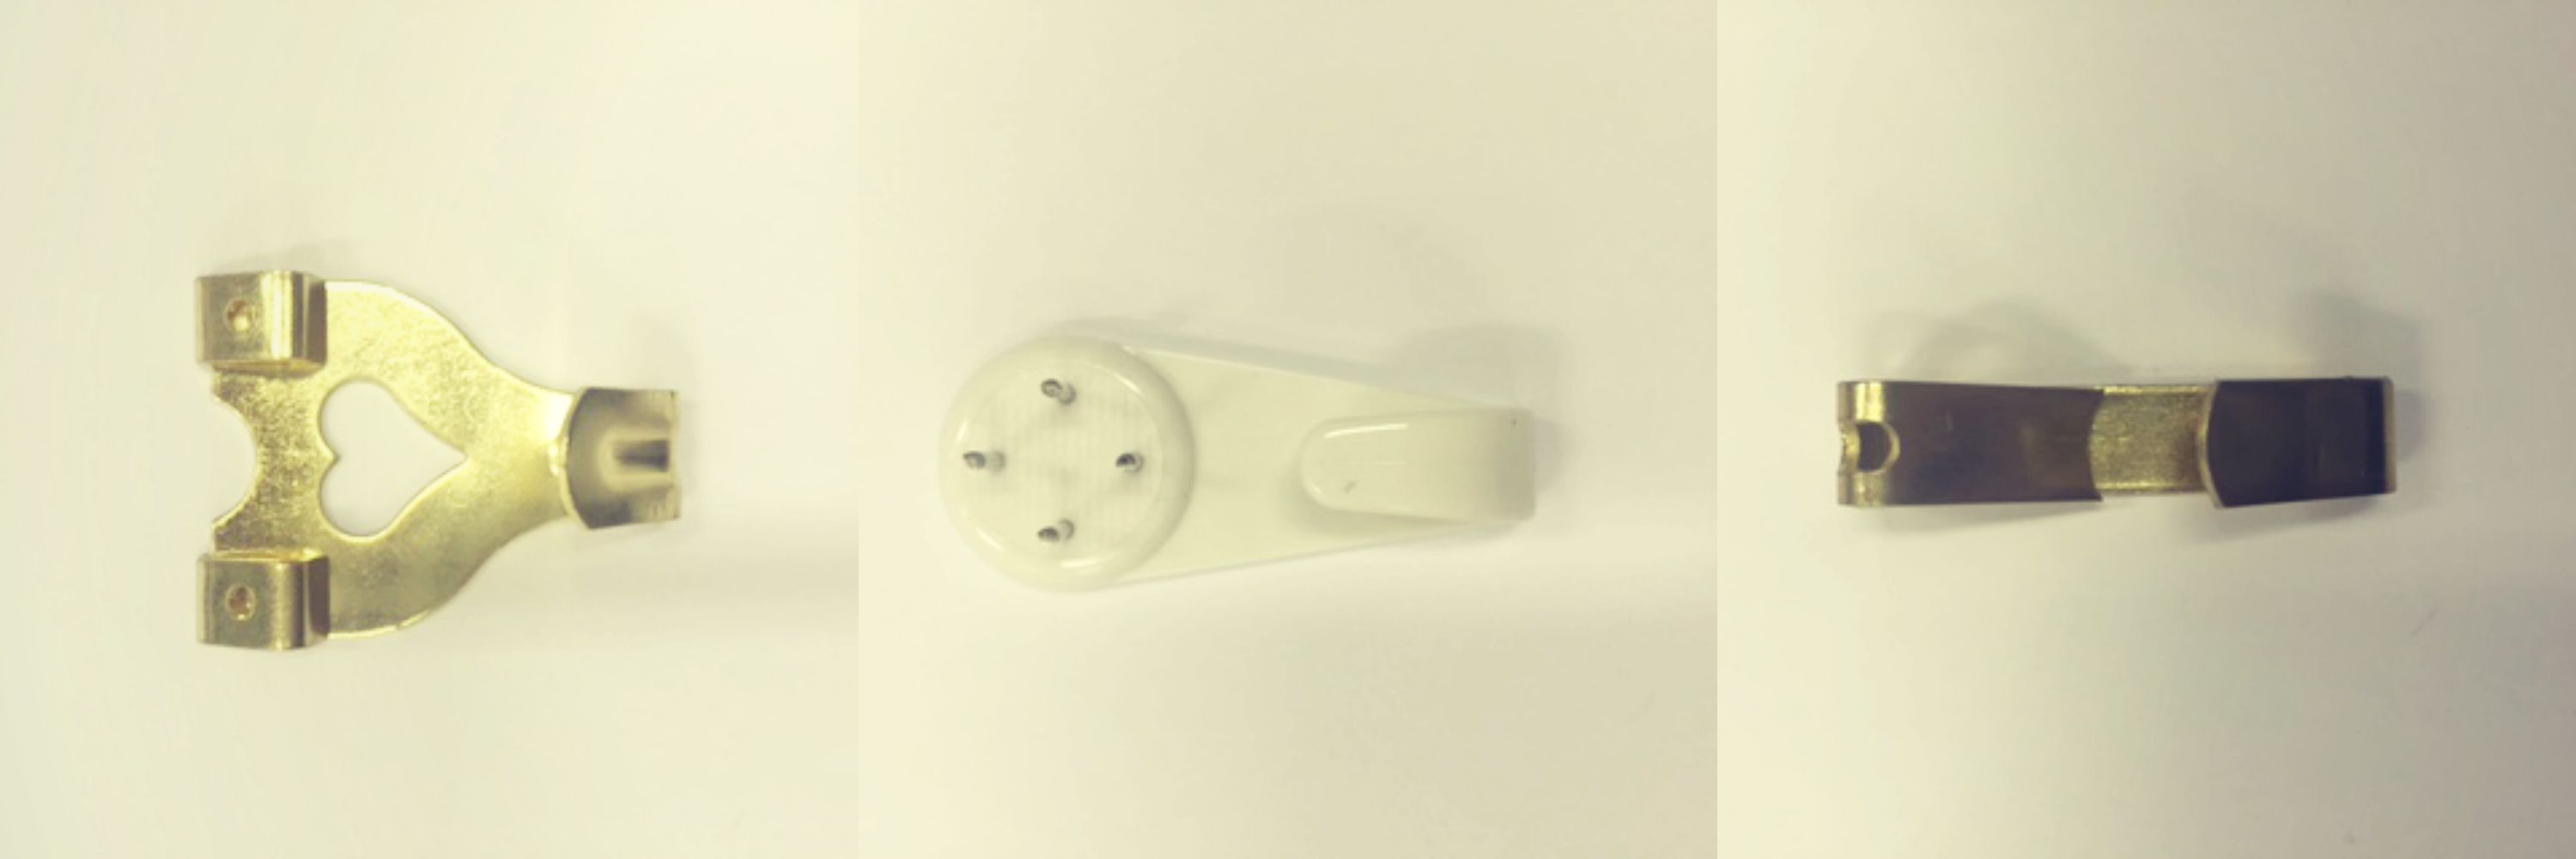
Always err on the side of caution when choosing your hanging hooks (picture below). If your artwork weighs 5 or 6 kilos, use an 8 kilogram hook to make sure the plaster will be able to hold your artwork’s weight.
Different plasters can bear different weights, so investigate the kind of plaster your walls have (if possible). Newer builds tend to have plaster sheet walls, whereas art deco and heritage homes have plaster rendered over brick.
Hints on Plaster and Weight
Have a brick and plaster wall? Choose a cement hook – which is a three-pronged hook – which is fantastic for supporting art on these walls.
If you’re hanging anything over 5 kilos, you’ll need to use a drill to firmly, deeply embed your hooks.
If plaster appears weak or flakey, don’t attempt to stick art on the wall using adhesive – this will definitely damage your wall.

Tool time: hammer, electronic meter tool, leveller.
Balancing Art and Space On Big Walls
When hanging one piece of art on a blank wall as a single feature, measure the floor to ceiling height as well as the width of the wall. Take care to center the work in the middle of the wall for optimum effect. This is where an electronic meter tool come in handy – as sometimes high ceilings and wide rooms are too long for your tape measure to accurately gauge.
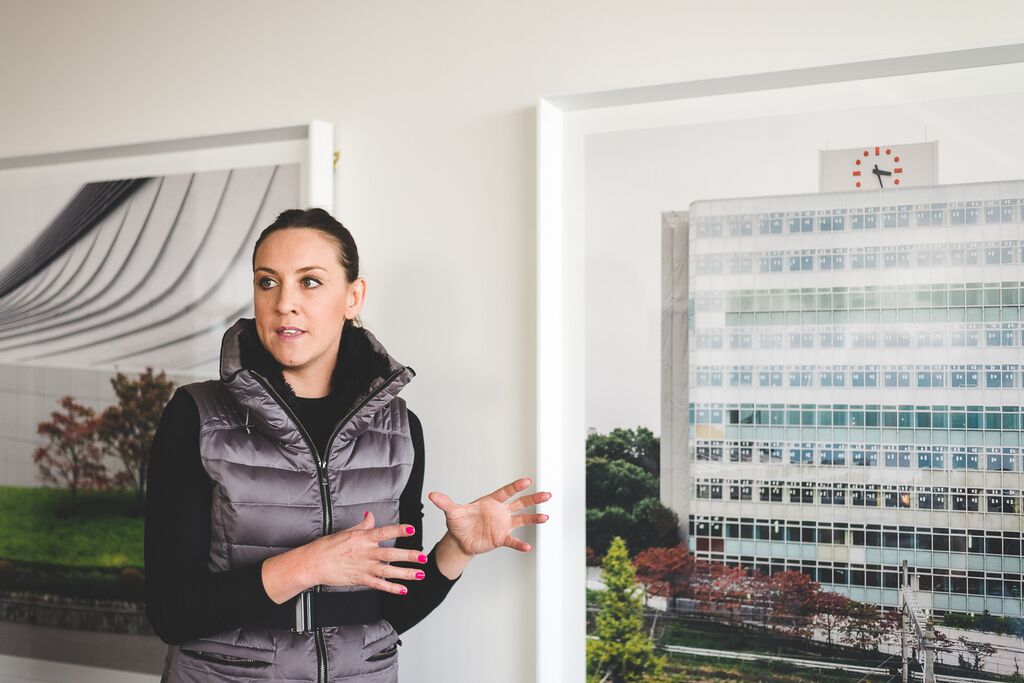
Sara chose a matching pair of square photographic artworks ‘Tokyo Lines’ and ‘The Time in Tokyo’ from The Artwork Stylist for the hallway and kitchen zone of the Living by Little Projects apartment. “We have used diversity in our art selection for this project – in the lounge there’s a small piece and a large canvas, whilst the bedroom has an off-centre photographic piece and the hallway features a pair. Nowhere else in the apartment have we used the ‘pair’ device – this use of artwork is unique to the space. It’s a really organic approach to hanging art that creates a homely space.”
Hanging Art – A Modern Approach
People used to hang art on inbuilt studs – a practice now (thankfully) mostly outdated. Hanging on inbuilt studs means that the location of your art is dictated by the location of the studs. Always choose your artwork’s positioning based on aesthetics and not convenience.
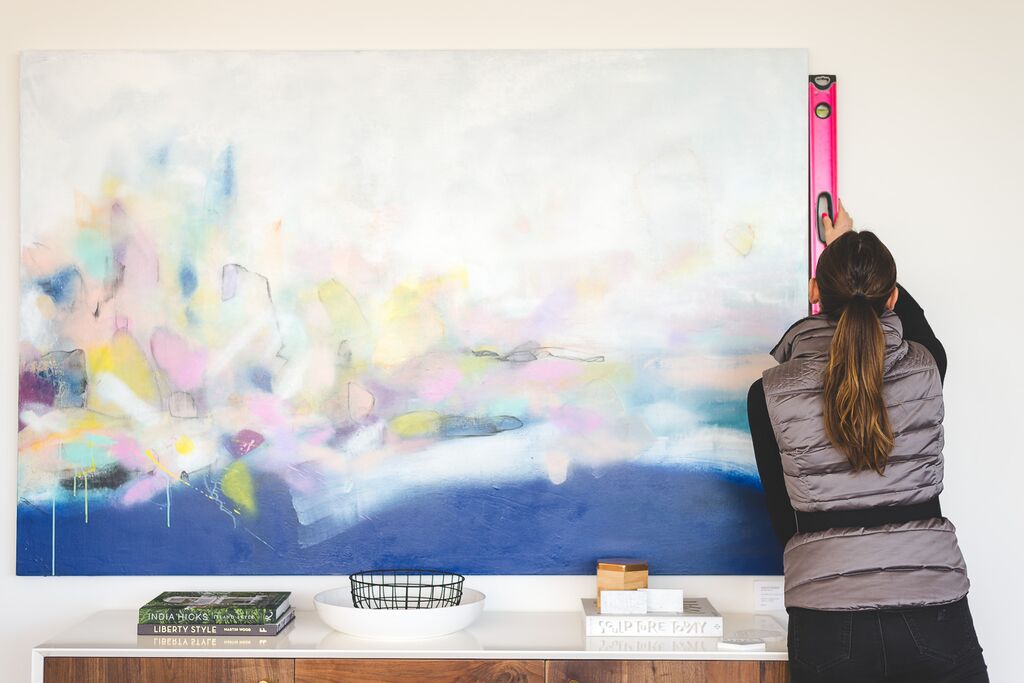
Sara’s extra-big leveller in a rather fabulous shade of raspberry pink. Here, she measures ‘Island Hopper’ by Michael Bond, specially commissioned for the Living by Little Projects residence by Fenton & Fenton. The apartment is furnished in a contemporary mixture of soft and hard natural elements enhanced by artwork, and beautiful books and accessories by the likes of Top3 by design and My Bookshop by Corrie Perkin.
Hanging Large Canvas
People often find it hard to get large canvases on the wall. Make an easier job of it by placing hooks far enough along the width of the artwork to easily slip your hanging wire over them.
Measure your rope or wire carefully – remember that rope ‘gives’ more than wire – and make sure its length matches on both sides.
Select D-links for hanging canvas – they are the most precise hanging option.
It’s easiest to hang a large canvas with a partner – if your rope or wire is too taut you may end up pushing the artwork against the wall to ‘grab’ the hook with the wire. This will damage your wall – so instead, work with your hanging partner to place wire over hook.

Hanging work from The Artwork Stylist
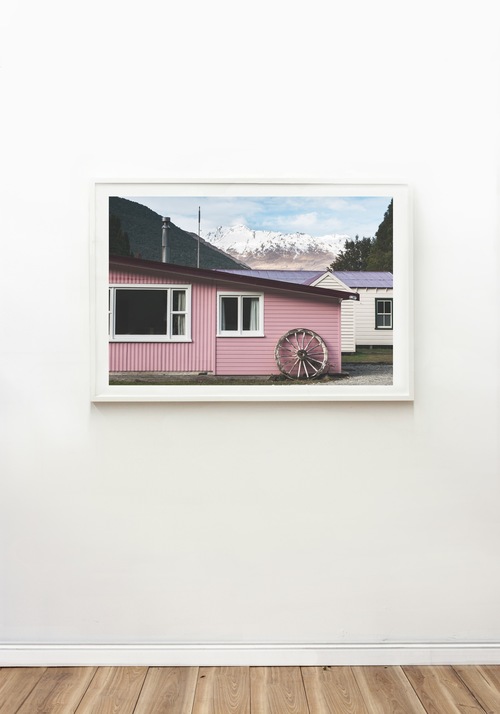
Just quietly, I’ve got my eye on ‘Paradise Pink’ from The Artwork Stylist. I asked Sara how best to hang a work of this size (120 x 84 cm) on modern plasterboard.
Sara: ‘Paradise Pink’ is not large – but you will still need 2 two-prong hooks. Two-prong hooks are always a better option for small art – you’re putting two holes in the wall, but it really creates a better hang. Don’t worry about putting holes in your walls – the reality is, you need to in order to hang artwork properly! It’s only a hole after all, and it can be patched up if needs be. Place your two-prong hooks 10cm either side of the print’s middle point – use a leveller to get this balance bang on.
The Clean-Up Job and Final Tips
Made some scuff-marks on your wall when getting your artwork position right? Use a magic eraser to clean up the wall.
Just have a go! Hanging artwork initially can be a nerve-wracking, but so long as the hooks and weight are right and you’re considering the type of wall you’re working with – you’ll be fine.
Placing works higher on the wall elevates ceiling height, whilst placing them lower down makes a space appear cosy.
If you have a home with picture rails, don’t hang your artwork directly onto the picture rail – they’re designed to drop down.
Curious about our time at Central South Yarra? For more on the Hometruths Melbourne and Ruby Slipper x Little Projects collaborations, read on.
